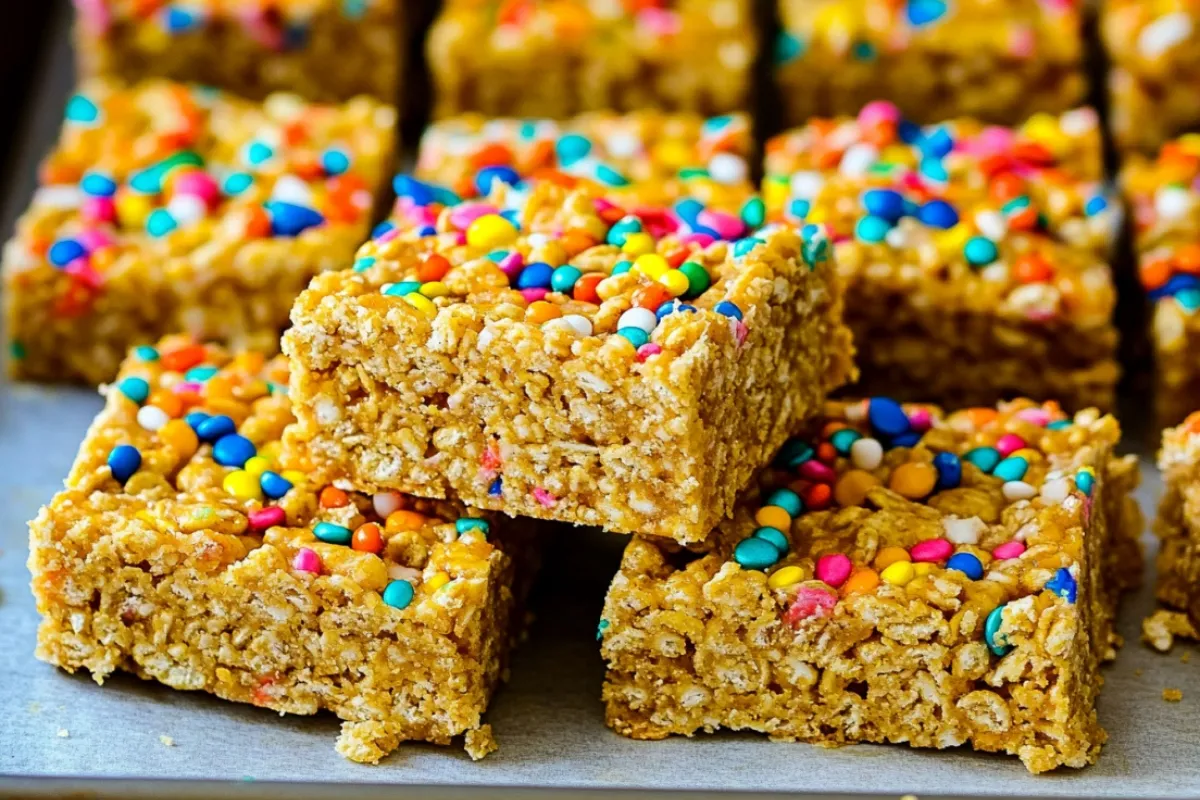
Who doesn’t love a good snack? And when it comes to easy, customizable treats, cereal bars are where it’s at! This recipe is all about creating delicious, chewy cereal bars right in your own kitchen. It’s a fun activity to do with the kids, and the best part is you can adapt it to use your family’s favorite cereals and mix-ins.
Why This Cereal Bar Recipe is a Winner
These aren’t your store-bought cereal bars! We’re talking gooey, chewy goodness, packed with flavor, and made with simple ingredients you probably already have. Plus, they’re way more budget-friendly.
What You’ll Need: The Cereal Bar Ingredients
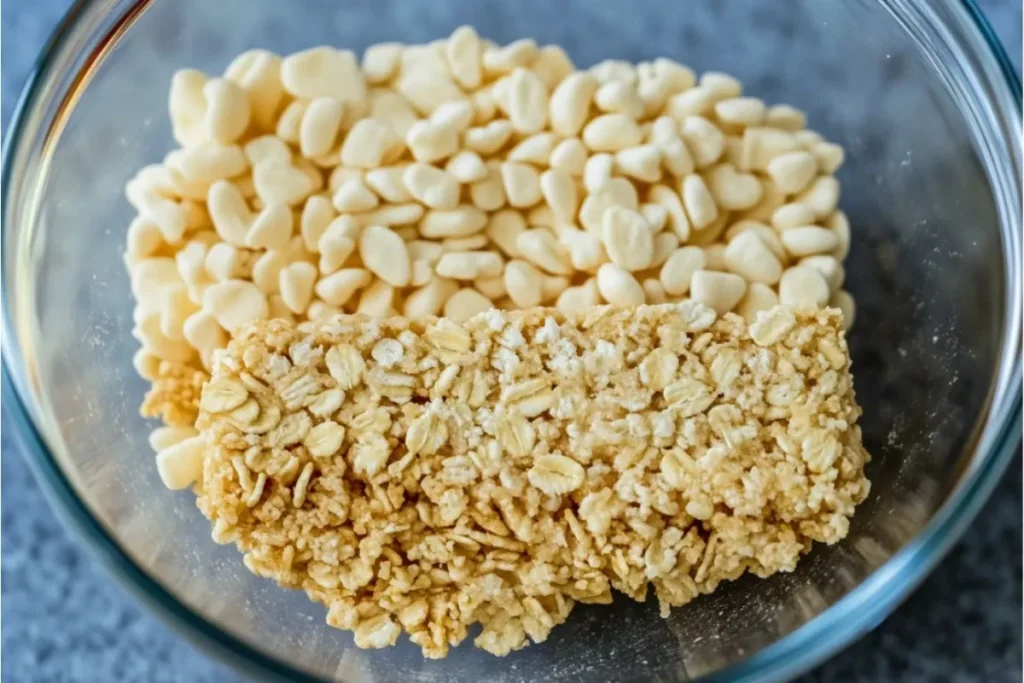
To whip up a batch of these awesome cereal bars, you’ll need just a few simple things. Most of these are probably already in your pantry! Let’s gather everything we need to make these homemade treats a success.
Cereal Choices
The cereal is the star of the show! Rice Krispies are a classic choice for cereal bars, but don’t be afraid to experiment. Corn flakes give a nice crunch, and Cheerios add a slightly different texture. For gluten-free, use a gluten-free crispy rice cereal.
The “Glue”: Binding Agents
Marshmallows and butter are what hold these cereal bars together. They create that gooey, sticky goodness we all love. You can also try using honey or corn syrup for a slightly different flavor. These act as the perfect binding agent!
Mix-Ins for Extra Flavor
This is where you can really get creative! Chocolate chips are always a winner, but sprinkles add a fun touch. Dried fruit, nuts, and seeds also make great additions to your homemade cereal bars. Make it your own!
Equipment Needed
- 9×13 inch pan: This is the perfect size for a nice batch of cereal bars.
- Saucepan: You’ll need this to melt the butter and marshmallows.
- Spatula: For stirring and spreading the mixture.
- Measuring cups and spoons: Accurate measurements are key!
- Parchment paper (optional): Makes it easier to remove the bars.
Step-by-Step: Making the Best Cereal Bars
Alright, let’s get to the fun part – actually making these delicious cereal bars! Follow these easy steps, and you’ll have a pan of gooey goodness in no time. Don’t worry, it’s easier than you think!
Preparing the Pan
First things first, grab your 9×13 inch pan. You can either grease it lightly with butter or cooking spray, or line it with parchment paper for easy removal. I prefer parchment paper – less mess!
Melting the Binding Agents
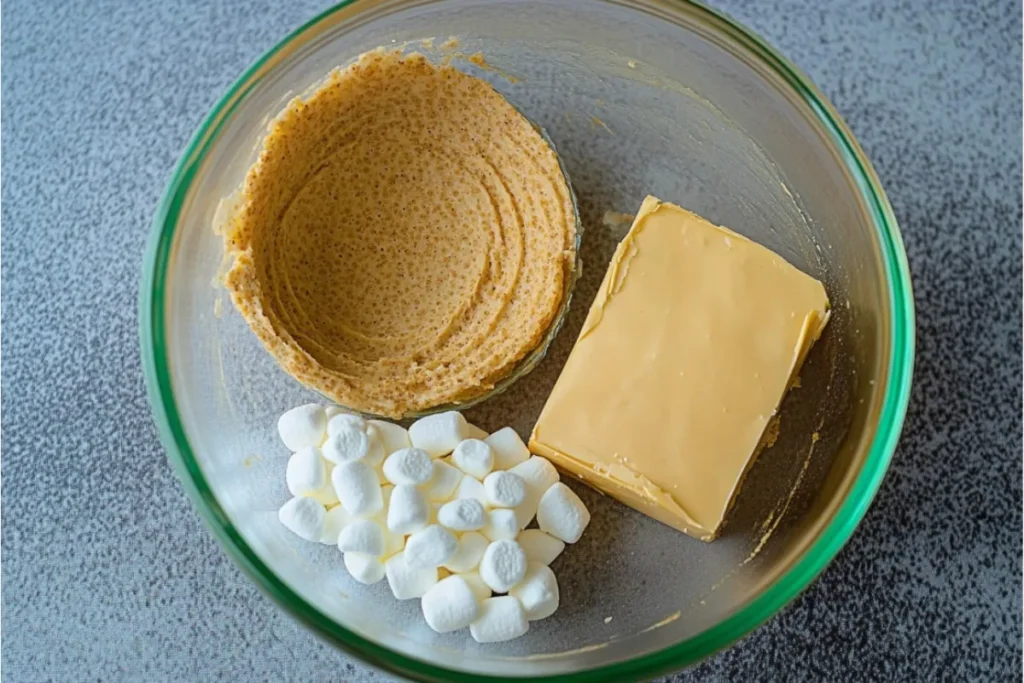
Now, put your butter in a saucepan over low heat. Once melted, add your marshmallows. Stir constantly until the marshmallows are completely melted and smooth. Keep the heat low! Burnt marshmallows will ruin your cereal bars. This mixture is the “glue” that holds everything together, so take your time. It should be nice and glossy. If using honey or corn syrup, add them after the butter has melted and stir until combined.
Combining Cereal and Mix-Ins
Remove the melted marshmallow mixture from the heat. Gently fold in your cereal until it’s evenly coated. If you’re adding mix-ins like chocolate chips or sprinkles, fold them in now, too. Be gentle – you don’t want to crush the cereal! The goal is evenly distributed ingredients for the best cereal bar experience.
Pressing into the Pan
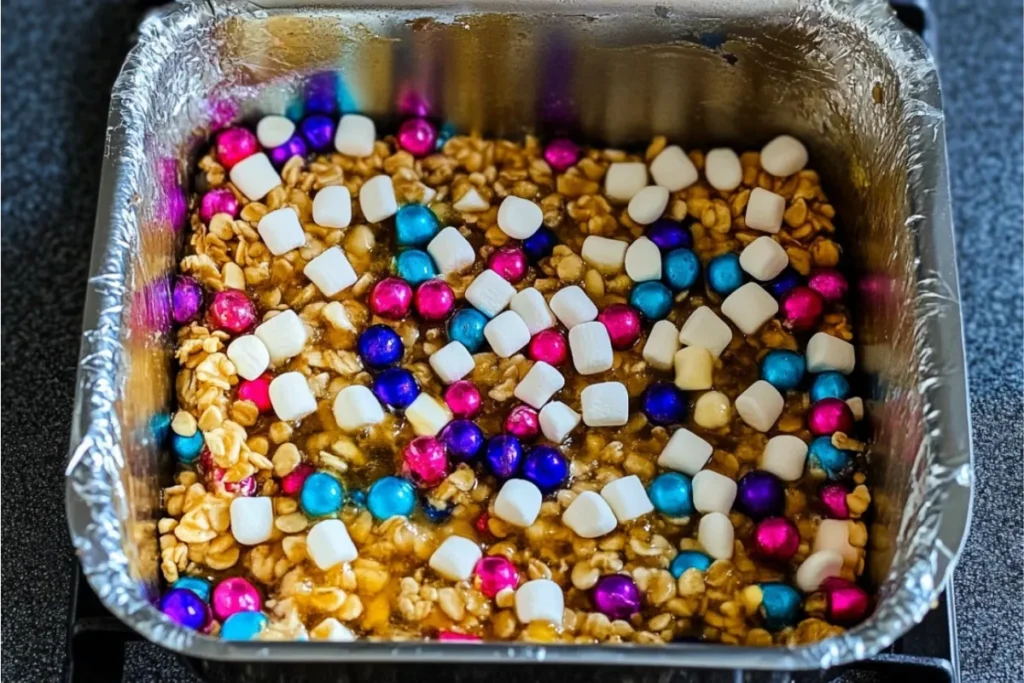
Pour the cereal mixture into your prepared pan. Use a spatula or your (clean!) hands to evenly distribute the mixture. Press down firmly to compact the cereal bars. For a smooth top, try using a piece of parchment paper or wax paper over the mixture while pressing. The firmer you press, the more compact your bars will be. For a different take on breakfast, check out this recipe for tater tot breakfast casserole!
Cooling and Cutting
Let the cereal bars cool completely in the pan before cutting. This usually takes about 30 minutes to an hour. Trust me, patience is key! Once cooled, cut them into squares or rectangles. For cleaner cuts, use a sharp knife and wipe it clean between cuts. The cooling process allows the bars to set properly, making them easier to handle and prevents a sticky mess.
Tips for the Perfect Texture
Want chewy cereal bars? Don’t overcook the marshmallow mixture. For crispier bars, use slightly less butter. If your bars are too hard, you might have pressed them too firmly. A lighter touch will help. The key to the perfect texture is finding the right balance of ingredients and cooking time. Experiment and see what works best for you! Remember, practice makes perfect! For another easy treat, why not explore some delicious pumpkin muffins with cake mix?
Tips and Variations for Delicious Cereal Bars
Ready to take your cereal bars to the next level? Here are some fun ideas and tips to make them truly your own! Don’t be afraid to get creative and experiment. That’s how the best recipes are born!
Gluten-Free Cereal Bars
Making gluten-free cereal bars is super easy! Just use a gluten-free crispy rice cereal. Many brands offer a gluten-free version that works perfectly in this recipe. Double-check all your ingredients to ensure they’re gluten-free certified. To make other treats gluten-free, check out this gluten-free bread crumbs guide!
Vegan Cereal Bars
For vegan cereal bars, swap the butter for vegan butter and use vegan marshmallows. There are some great vegan marshmallow brands available now! These simple swaps make this recipe accessible to everyone.
Fun Flavor Combinations
- Chocolate Peanut Butter: Add peanut butter to the melted marshmallow mixture and use chocolate chips as a mix-in.
- S’mores: Use graham cracker cereal and mini marshmallows, then top with a drizzle of melted chocolate. My husband loves this version!
- Birthday Cake: Use cake batter flavored cereal, add sprinkles, and top with a frosting drizzle.
These are just a few ideas to get you started! Think about your favorite flavors and how you can incorporate them into your cereal bars. For inspiration check out Healthline to learn the benifits of some popular food combinations.
Troubleshooting Tips
- Bars too hard? You likely pressed them too firmly. Next time, use a lighter touch.
- Bars too sticky? You may have used too much butter or didn’t let them cool long enough. Try reducing the butter slightly next time.
- Marshmallows not melting smoothly? Keep the heat low and stir constantly. A little patience goes a long way!
- Cereal is soggy? Make sure not to add too much of the binding agent. Start small and add more if needed.
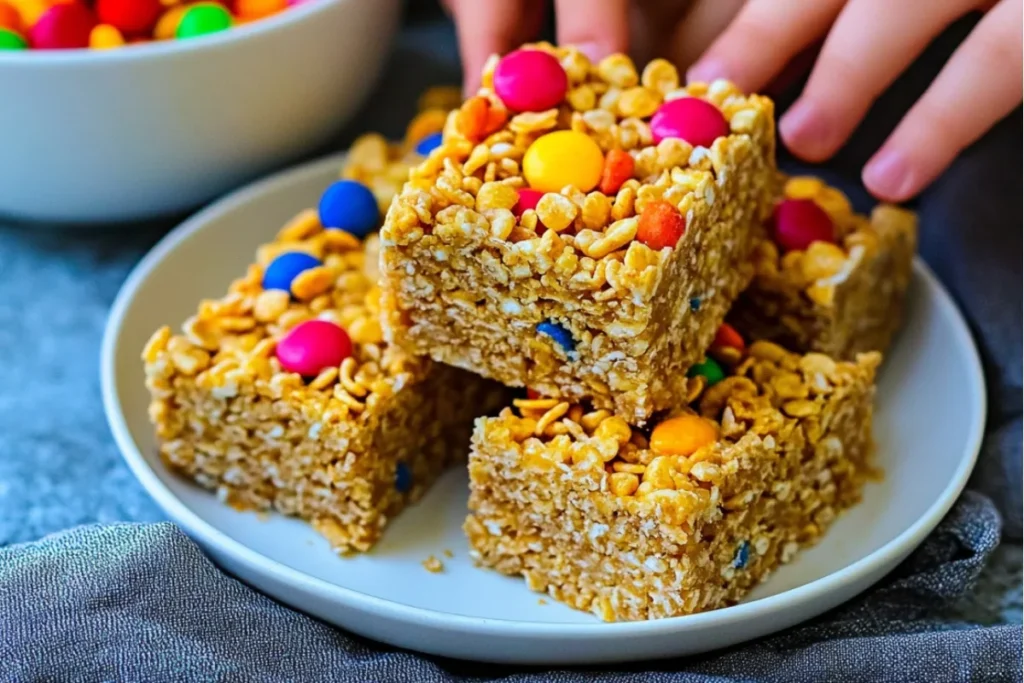
Storing Your Homemade Cereal Bars
Want to keep your cereal bars fresh and delicious for as long as possible? Proper storage is key! Here’s what you need to know to keep those treats tasty. When thinking about what snacks to keep, check out some healthy meal prep ideas to round out your snack options.
How to Keep Cereal Bars Fresh
The best way to store your cereal bars is in an airtight container at room temperature. This will keep them fresh and chewy for up to 3-4 days. Avoid storing them in the fridge, as this can make them hard.
Can You Freeze Cereal Bars?
Yes, you can! Wrap the cereal bars individually in plastic wrap, then place them in a freezer-safe bag or container. They can be frozen for up to 2 months. When ready to eat, thaw them at room temperature for about 30 minutes.
FAQ
Let’s tackle some frequently asked questions about making cereal bars! I want to make sure you have all the information you need to create the perfect batch.
How to make cereal bars?
The basic process involves melting butter and marshmallows, combining them with your favorite cereal and any desired mix-ins, pressing the mixture into a pan, and letting it cool before cutting into bars. See the full recipe above for detailed instructions and measurements! The detailed steps earlier in the recipe outline this perfectly!
How to make breakfast cereal bars?
To make breakfast cereal bars, use cereals like Cheerios, Rice Krispies, or even granola. Consider adding ingredients like dried fruit, nuts, and seeds for extra nutrition. You can also use honey or maple syrup instead of marshmallows for a more natural sweetener. This is a great way to start the day!
How do you make cereal bars?
The key to making great cereal bars is to use the right ratio of binding agents (butter and marshmallows) to cereal. Don’t overcook the mixture, and press it firmly into the pan for a compact result. Allow ample cooling time to ensure the bars hold their shape. It all comes down to technique and ingredients! For the benefits of some of the ingredients used in this recipe check out Healthline.
My cereal bars are too hard. What did I do wrong?
Overcooking the marshmallow mixture is often the culprit. Cook over low heat, stirring constantly, and remove from heat as soon as the marshmallows are melted. Also, pressing too hard can make them dense. A lighter touch can make all the difference for these cereal bars!
Beyond the Recipe: Why Cereal Bars Are a Family Favorite
Cereal bars are more than just a snack; they’re a blank canvas for creativity and a quick fix for hungry kids (and adults!). Their simplicity and endless customization options make them a family favorite in my house.
These are always a hit with my kids, especially after school! They are also a lifesaver for those moments when you need something fast and satisfying. Give this recipe a try and let me know what fun flavor combinations you come up with! I can’t wait to hear about your cereal bar adventures! If you are looking for more easy to follow breakfast ideas, then these egg bite recipes are another tasty and convenient options.
Print
Cereal Bars
- Diet: Vegetarian
Description
Simple and customizable cereal bars made with marshmallows, butter, and your favorite cereals. A fun, budget-friendly snack for kids and adults!
Ingredients
- Rice Krispies (or other cereal) – 6 cups
- Marshmallows – 10 oz
- Butter – 4 tablespoons
- Chocolate chips (optional) – 1/2 cup
- Sprinkles (optional) – 1/4 cup
Instructions
1. Grease or line a 9×13 inch pan with parchment paper.
2. Melt butter in a saucepan over low heat.
3. Add marshmallows and stir constantly until melted and smooth.
4. Remove from heat and gently fold in cereal until evenly coated.
5. Add chocolate chips or sprinkles, if desired.
6. Pour mixture into the prepared pan and press down firmly.
7. Let cool completely before cutting into squares.
Notes
Can be made gluten-free by using gluten-free cereal. Vegan option: use vegan butter and marshmallows. Get creative with flavor combinations like chocolate peanut butter or s’mores.
- Category: Dessert
- Cuisine: American
Nutrition
- Serving Size: 1 square
Keywords: cereal bars, rice krispie treats, homemade snacks, easy recipe, kid-friendly, no bake

